Growing your food is a fun and fulfilling experience. It’s tremendously exciting to watch the seeds sprout, grow new leaves, blossom, and bear fruit.
The highlight of it all is harvesting and eating meals made from veggies you cultivated yourself. If you plan to grow your own food, check out our ten easy steps to guide you through the process.
1. Choose the Seeds
The growing conditions of each plant are different. Thus, knowing what you will be growing will help you with your research and the rest of the process. Based on the seed availability, your favorite veggies, and the area available for gardening, choose what you want to grow and how much you want to grow.
2. Know the Veggie Friends
Growing certain plants together is a simple trick gardeners use to increase their profit. As you plan your garden for this year, make sure you choose companion plants that will complement each other and help your garden flourish. They can provide each other with nutrients, shade, or support, as well as attract pollinators and repel pests.
3. Do Your Research
Now that you know what you are planting, read up on the season, the growing conditions, and the processes for each of the seeds you have chosen. Know that each plant grows in different seasons and requires different amounts of sunlight, water, and manure. Have an understanding of the growing process for each seed to monitor the growth and make informed decisions.
4. Find Your Spot
The perfect spot is where you can get a lot of morning sunlight. Sunlight contributes to the growth and development of a plant. However, planting it where the noon light shines a lot can make maintenance more difficult since it would require frequent watering and might even wither quickly. Plants require around 6–7 hours of sunshine to flourish. So, look for a spot with direct sunlight.
5. Know Your Soil
Each plant requires different types of soil and pH levels for growth. A simple squeeze test can tell you whether your soil is clay, sand, or loam. Knowing your soil will help you determine how to prepare your soil for maximum yield.
6. Prepare the Soil
After understanding your soil type, you need to prepare your soil for each produce. Adding compost and fertilizers will help enhance the richness of the soil and help produce better yields. Add a generous amount of garden compost to the soil and mix it well before planting the seeds.
7. Plant It the Right Way
Depending on the seed, the way to plant it also differs. Some seeds need to be buried deeper, while others need only a light layer of soil to cover them. Bulbs can go straight into the pot, whereas the vulnerable range needs to start seed trays. They can be transplanted into the pot when they have a minimum of 4–5 leaves. Make sure to choose the right pot depending on the expected growth of each plant.
8. Add Nutrients and Water
Like any living being, plants require sunlight, nutrients, and water to grow well. Keep a tracker and add fertilizers once every two weeks, and water it depending on the requirement for each plant. You can dip your finger in the soil to check the soil’s moisture level. Also, remember to add pesticides as and when needed.
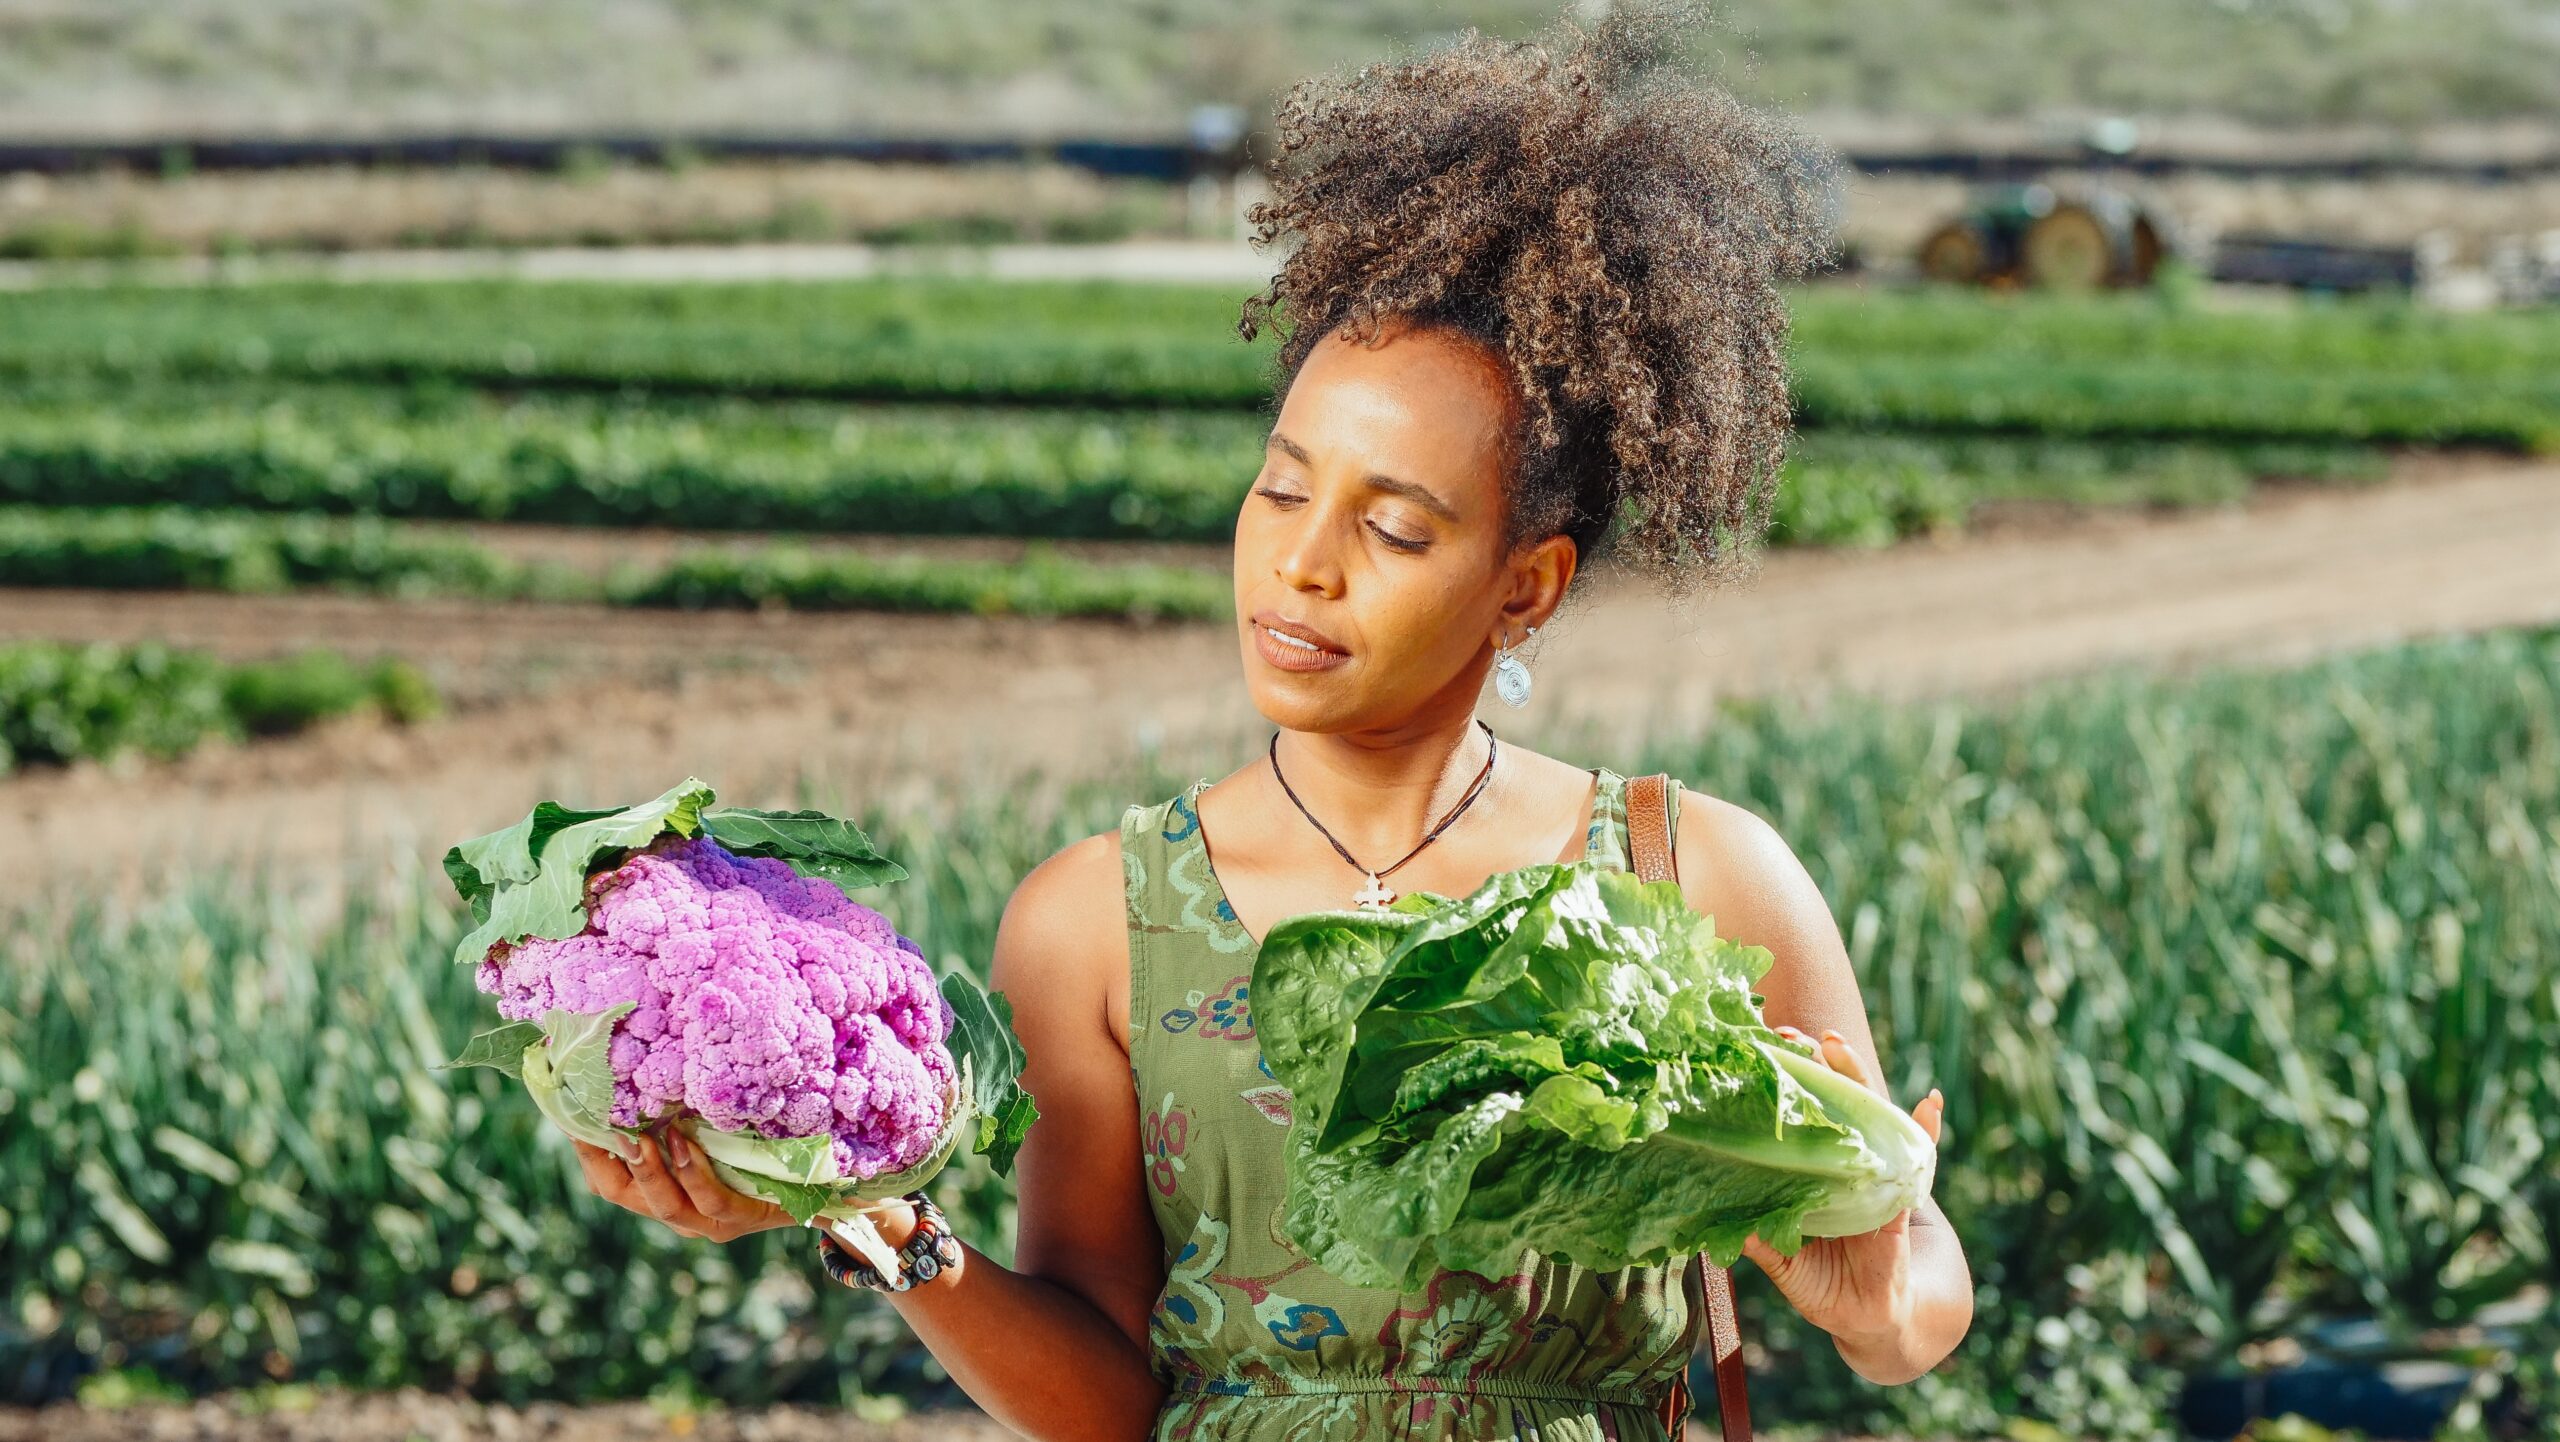
9. Harvest
Keep a close eye on ripening plants. Some need to be harvested raw, some fresh; some are happy to wait till you are ready to harvest, while some wait for none. Know and identify the right time to reap and enjoy harvesting the produce grown all by yourself.
10. Enjoy!
The final step is to enjoy the organic vegetables/fruit and make a healthy meal to share with your friends and family.
If you are looking for advanced ways to handle your garden, Torpedopot can help you set up a self-growing garden with a built-in, fully automated, pressurized plumbing system that waters your plants for you.