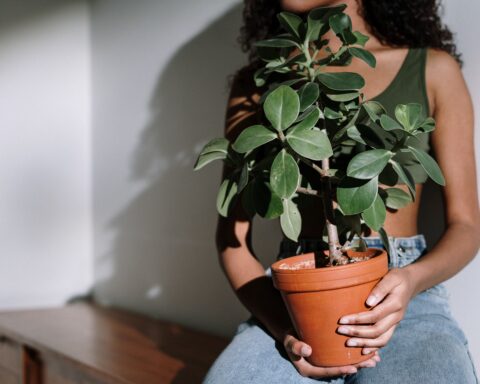
March 2, 2022 2 mins read How to Repot Your Houseplants The Right Way If your plants have outgrown their pots or require frequent… Read More
February 19, 2022 2 mins read 5 Reasons Why Your Plants Keep Dying and How To Save Them For any gardener, the relationship with their plants can get… Read More
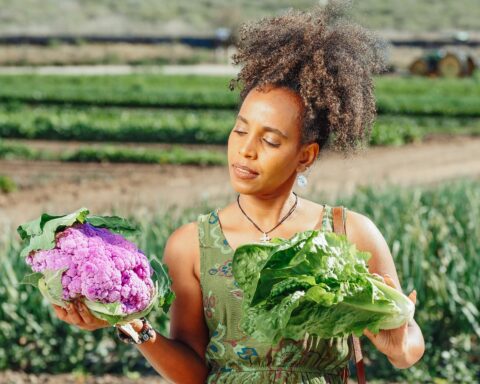
February 11, 2022 2 mins read 10 Step Guide for Growing Your Own Food Growing your food is a fun and fulfilling experience. It’s… Read More
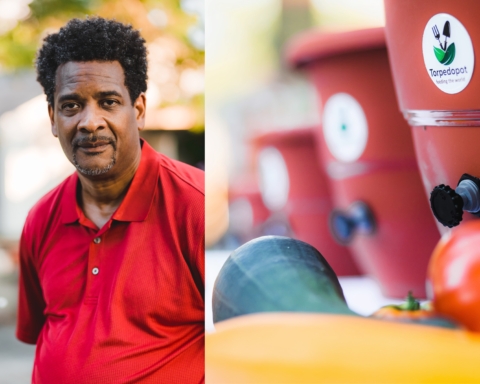
August 27, 2020 1 min read Black Inventor Creates The World’s First Self Growing Farming System to Combat Food Scarcity and Land Shortage Darral Addison is a Black inventor with degrees in chemistry… Read More